Contacts
Affiliates can use M3 to manage contacts as well as to bundle related contacts into groups. This empowers affiliates by allowing them to manage sets of companies they wish to stay connected with. By creating contacts and contact groups, affiliates can better organize and record the interactions they have with their customer base. Whether you’re maintaining relationships with existing clients or seeking to expand your network, ‘Contacts’ provide the starting point from which affiliates can begin to manage all of their interactions.
Contact Groups
Navigation
Affiliates can navigate to the Contact Groups view by taking a few steps. First, Affiliates should click the “Interactions” navigation menu item in the navigation bar at the top right of their M3 panel.

Once clicked, the Affiliate will be navigated to the Interactions view. Affiliates can then click the “Contact Groups” item in the menu on the left of the Interactions page.

Upon clicking the “Contact Groups” item in the Interactions menu, Affiliates will be navigated to the Contact Groups view.
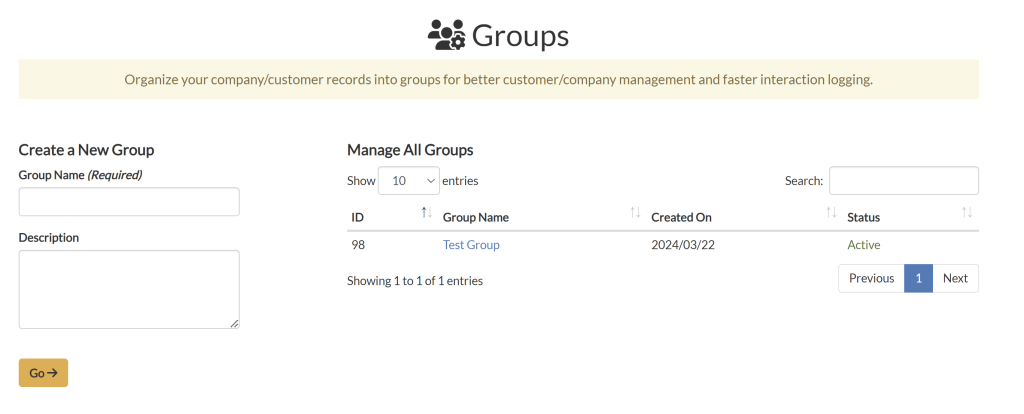
Create a New Group
After navigating to the “Contact Groups” page:
- Enter a name for the group in the ‘Group name’ field.
- Optionally, provide a description of the group in the ‘Description’ for additional context.
- Once you have entered the group name and description, click the ‘Go’ button to create the group.

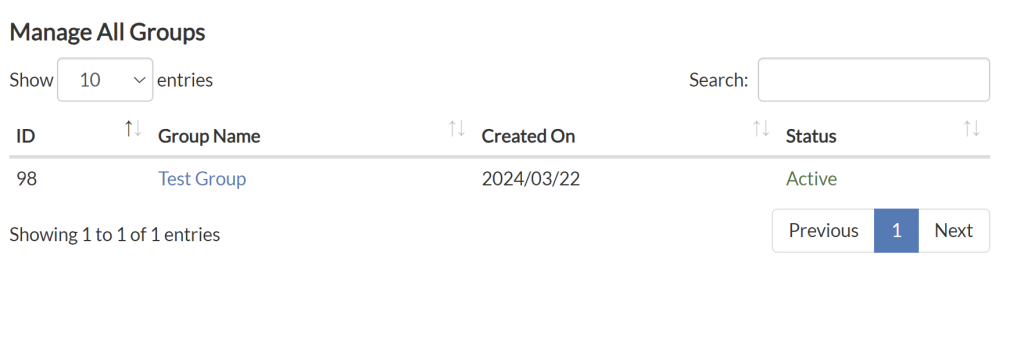
Manage All Groups
After navigating to the “Contact Groups” Page, a table with all groups that have been saved will be displayed. The following columns of information are provided in the table:
- ID: A unique identifier for each group.
- Group Name
- Created on: The date when the group was created.
- Status: Indicates whether the group is active or inactive.
Additionally, affiliates can use the search function to quickly find a specific group by typing the group name into the search bar.
Import contacts
Affiliates have the capability to import contacts. When importing contacts, please note that the company name must be provided either as an email address or a company name. After selecting the contacts for import, you will be prompted to match the columns from your import file to predefined fields within the system. This ensures that the imported data is correctly mapped and organized.
Navigation
Affiliates can navigate to the Import Contacts view by taking a few steps. First, Affiliates should click the “Interactions” navigation menu item in the navigation bar at the top right of their M3 panel.
Once clicked, the Affiliate will be navigated to the Interactions view. Affiliates can then click the “Import Contacts” item in the menu on the left of the Interactions page.

Upon clicking the “Import Contacts” item in the Interactions menu, Affiliates will be navigated to the Import Contacts view.
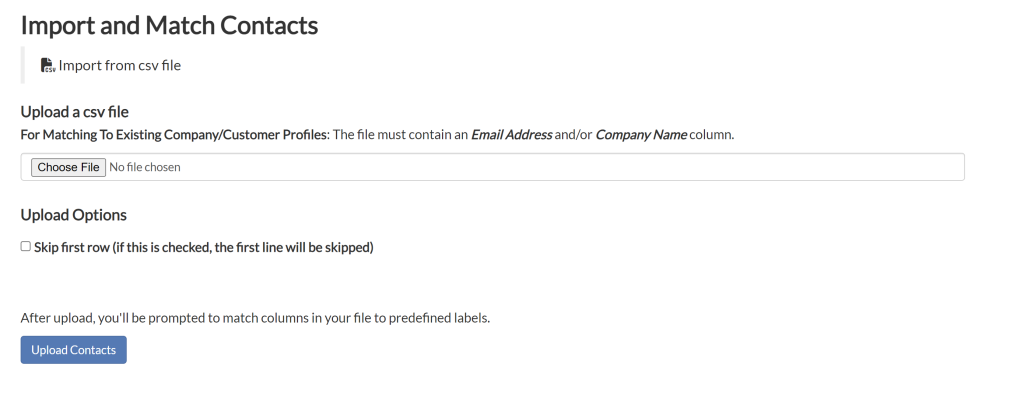
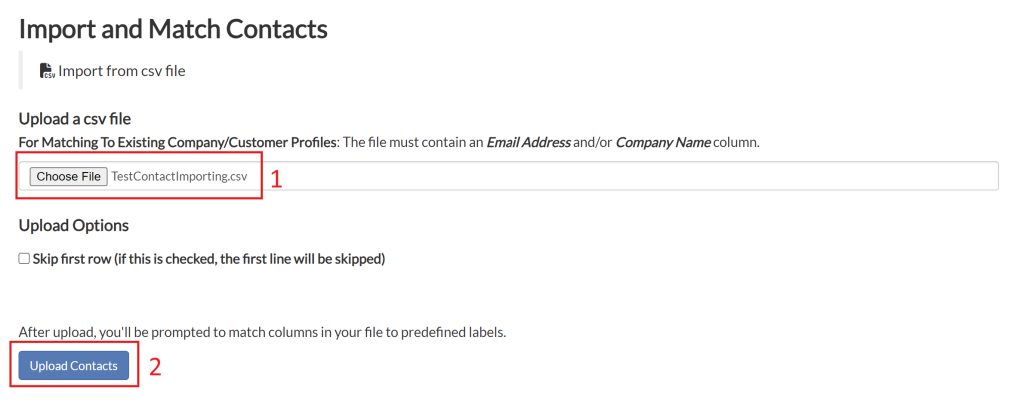
Import and Match Contacts
- Select the contacts file you wish to import, ensuring it meets the required format (e.g., CSV, Excel).
- Click the “Upload Contacts” button to initiate the import process.
NOTE: if you have headers in your imported file, you may wish to check the “Skip first row” box under Upload Options.
- Review and map each column of data to a predefined label by selecting the desired mapping from the drop down box at the top of each column. You may select “Skip – Do not import” if you do not wish to import a column of data.
- Select the type of contact being imported
- Choose any Custom Group you wish to import the contacts into
- Choose if you wish to update existing non-registered contacts or create new profiles for unmatched contacts
- Import and match contacts
